**You do not need an account.** You will be connecting to my *tailnet* using an authentication key.
#### 1. Get an authentication key A Tailscale authentication key looks like this: ``` tskey-auth-k5MukmtKx621CNTRL-Te6eVCugAb9gdj27hJqYY9RNRdRcQcN1 ``` If I have not already provided you with an authentication key, **contact me.** #### 2. Open a command prompt or terminal Open the Windows search menu and type in: `cmd` [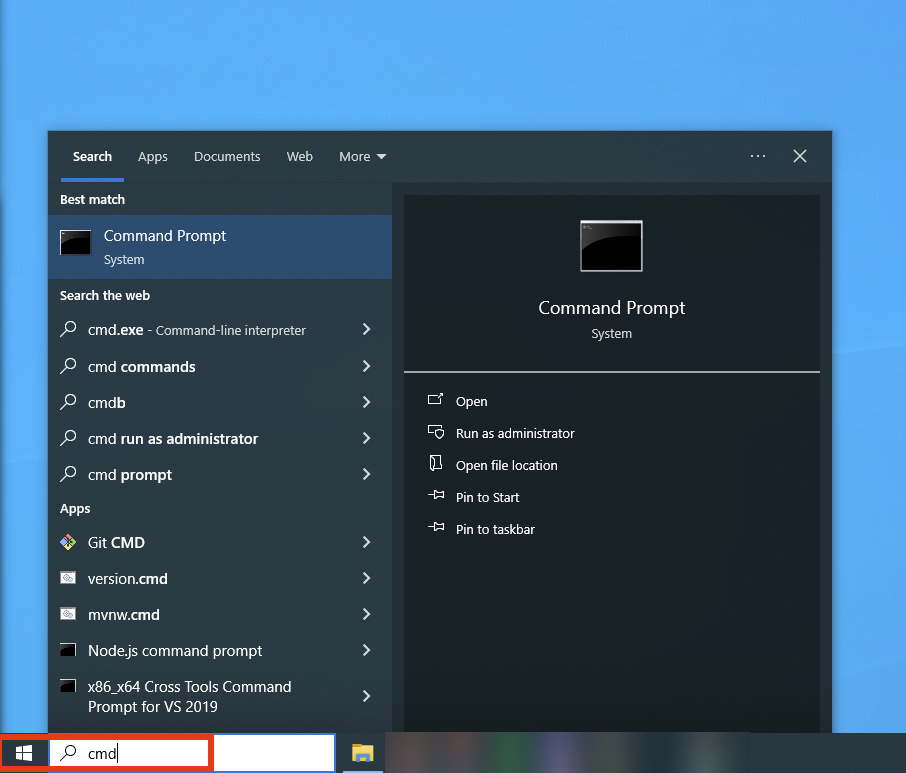](https://wiki.joris.me/uploads/images/gallery/2024-06/RnjmwQw7NOwBXPy2-image.png) Then, click **Open**: [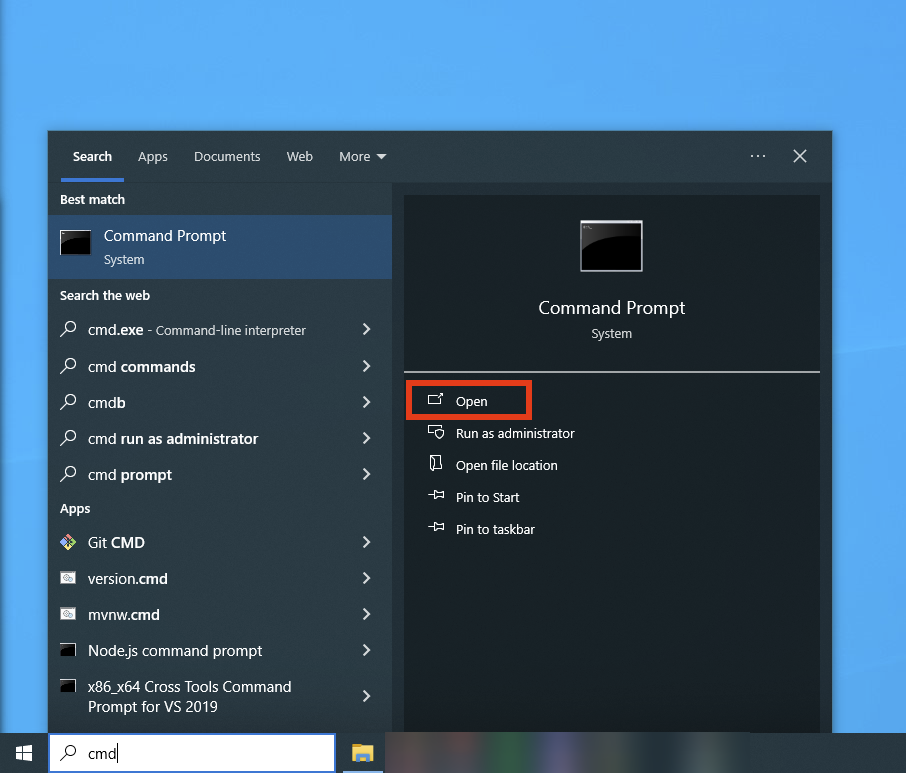](https://wiki.joris.me/uploads/images/gallery/2024-06/3kZqKfIyS4LNxMBt-image.png) You should now see a window that looks like this (minus the red bar): [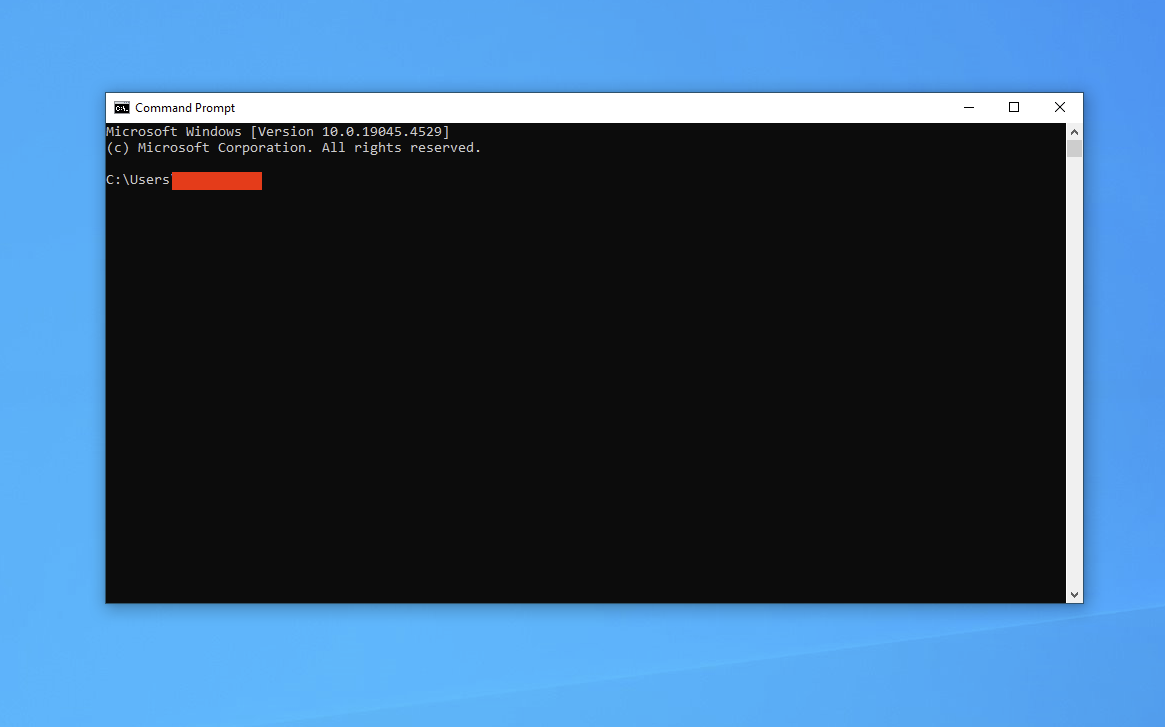](https://wiki.joris.me/uploads/images/gallery/2024-06/1UXcn6bOjaPVTu3U-image.png) #### 3. Login and launch Tailscale Now that you have the command prompt open, type the following: ``` tailscale up --auth-key PUTTHEKEYHERE ```**Tip**: You can **right-click** the window to paste from your clipboard. Use this to paste the authentication key.
To illustrate, an example using the authentication key from earlier: ``` tailscale up --auth-key tskey-auth-k5MukmtKx621CNTRL-Te6eVCugAb9gdj27hJqYY9RNRdRcQcN1 ``` If all goes well, you should see basically no output: [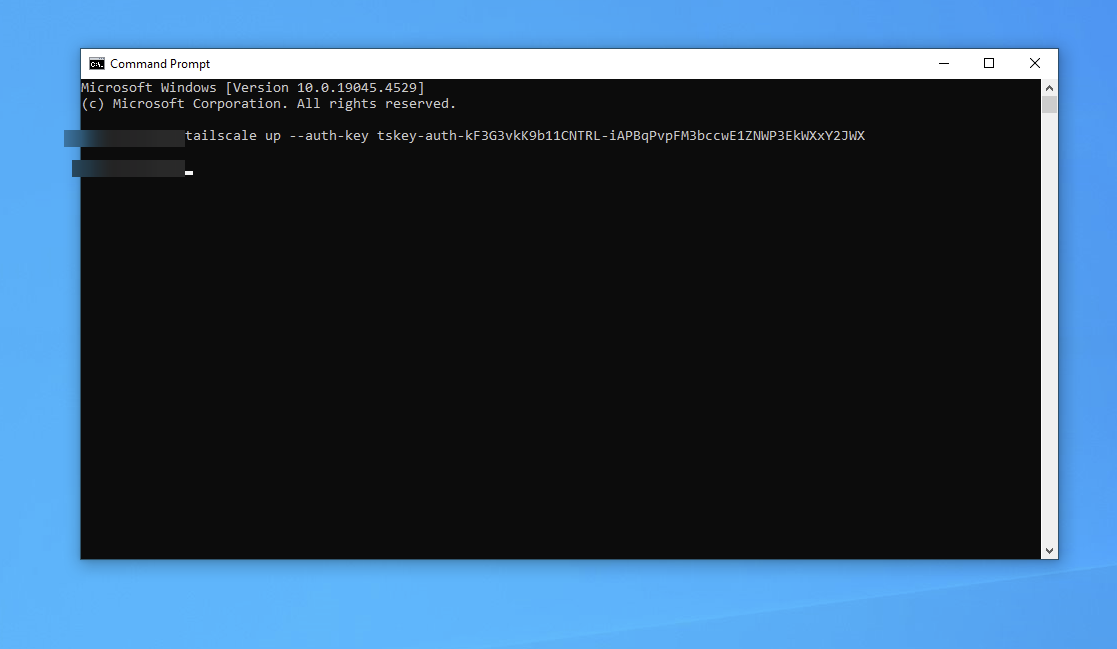](https://wiki.joris.me/uploads/images/gallery/2024-06/Sp6thn7bBNGCHkNa-image.png) You can check if it worked by typing `tailscale status`. If you see a list of IP addresses and device names, you are connected! ## Conclusion Good work! You are now connected to my Tailnet. This will allow you to access all services I've given you access to. You can continue to the next guide: [Add a network drive](https://wiki.joris.me/books/network-storage/page/mount-a-network-drive-windows "Add a network drive") # Connecting via WireGuard ### Introduction WireGuard is a tunneling protocol that lets you establish a secure connection, either directly to another host, or to another network or subsection thereof. This can be utilized as a VPN or as a secure entry into another network for accessing storage or other services. This article is a short walk-through of deploying a wireguard configuration you get from me to access one or more services in my homelab. ### Prerequisites - A WireGuard config file, archive with password; - The password for the archive; - A Linux machine.If you do not have such a WireGuard config archive or the password, **contact me.**
### Installing dependencies Since WireGuard comes with the kernel, we will only need to install some utilities. #### On Debian ```bash sudo apt install wireguard-tools p7zip ``` #### On Arch Linux ``` sudo pacman -S wireguard-tools 7zip ``` ### Unpacking the configThis requires a password. You either have received the password already, or will receive it from me via a channel separate to the one I used to give you the archive.
This requires 7z installed: ``` 7z x wg.7z ``` You should see a file akin to `WG-You can choose any name for the destination file; just make sure it's a legal network interface name. The below file name would result in a network interface called `wg1`.
### Connecting Assuming you named the file `wg1.conf`: ``` wg-quick up wg1 ```And you're done!
Continue reading: - [Accessing a share (rclone + SMB)](https://wiki.joris.me/books/network-storage/page/accessing-a-share-rclone-smb) - [Mount a network drive (Linux NFS)](https://wiki.joris.me/books/network-storage/page/mount-a-network-drive-linux-nfs)